Hey, this is Mollie’s husband Eugene. This is my first blog post so go easy on me, hopefully it’ll help you in starting a successful blog just like my wife! When Mollie first started her website back in August of 2015 she literally had no idea what she was doing. She just knew that she loved cooking and baking, loved the FODMAP diet, and really enjoyed helping others. Without telling her husband (me) or any of her friends she said screw it and just decided to go with her gut. That’s when she hired a coder from Fiverr, and decided to create www.fitfabfodmap.com! After doing a lot of web hosting research she learned that bluehost was actually one of the highest rated web hosting sites out there. Mollie registered her domain name (www.fitfabfodmap.com), chose her blogging platform (wordpress.com) and hosting (bluehost.com) all through bluehost! It was a lot easier than she thought it would be too.
1st Step – Pick Web Hosting
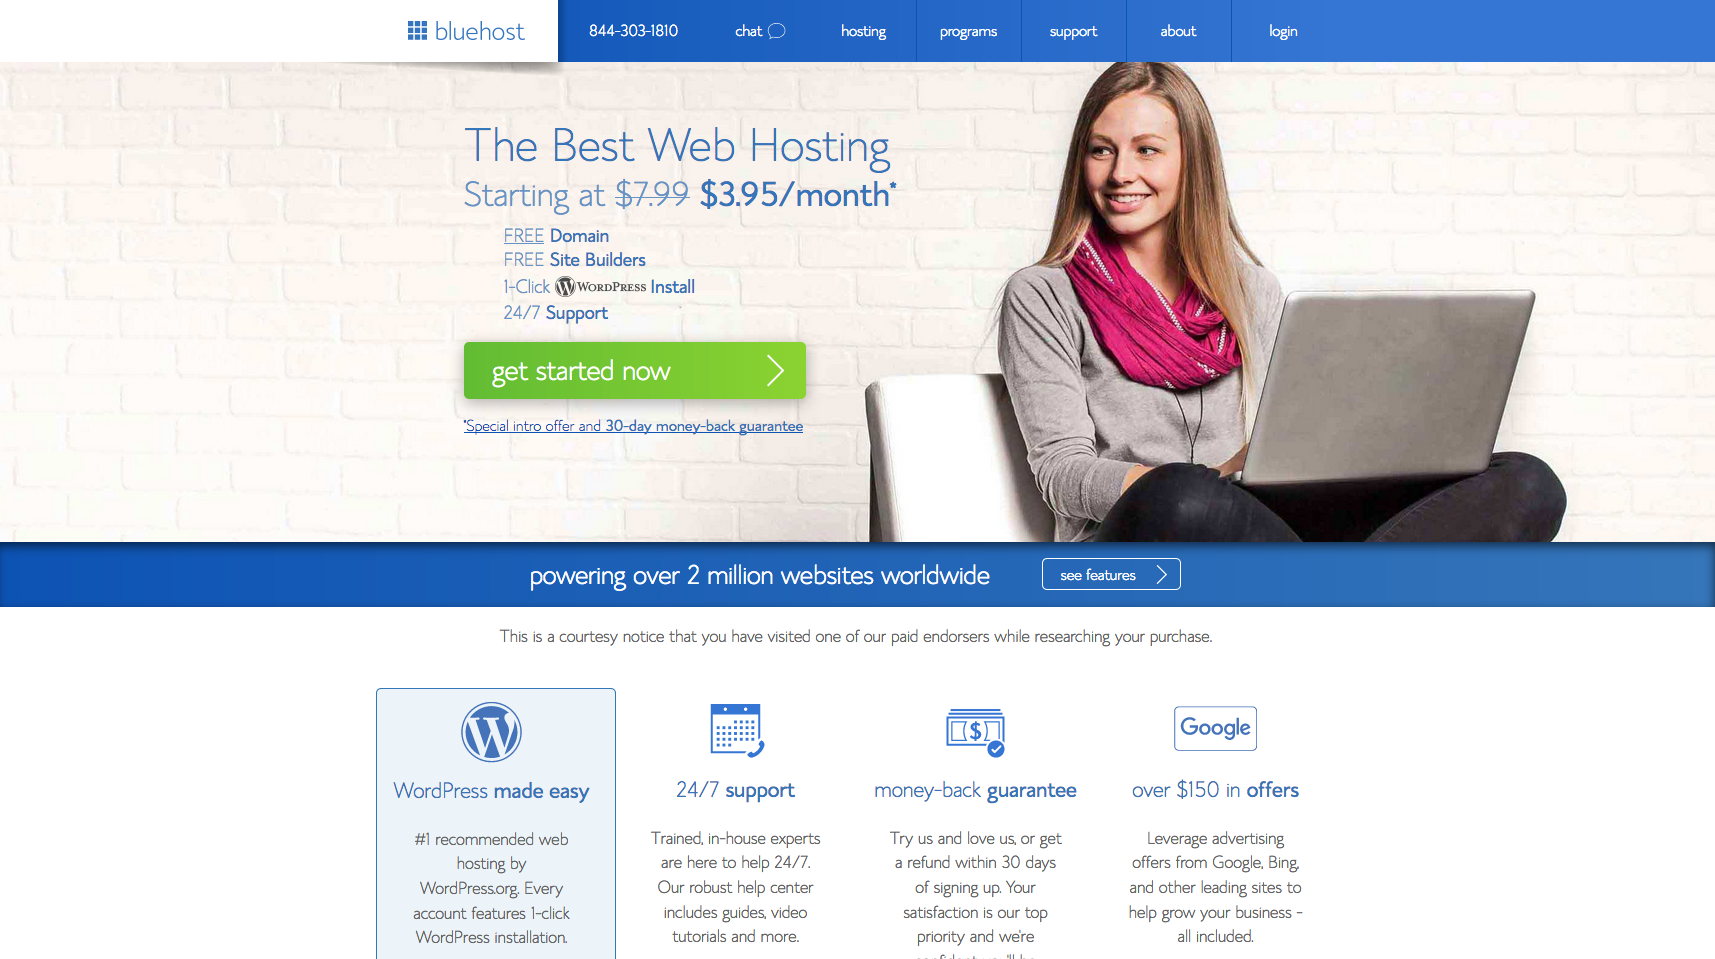
First step is to find a place to store(host) your website on a server, which is provided by a web hosting company, such as BlueHost. When you’re just starting out you really don’t need to spend that much on hosting, which is one of the reasons BlueHost is so great.
- It’s affordable (about $3 to $4 a month)
- They offer a 30 day money back guarantee
- 24/7 Support
- It comes with a free domain
- Free SSL is included
- 1-Click WordPress Install
2nd Step – Select Your Plan and Register Domain
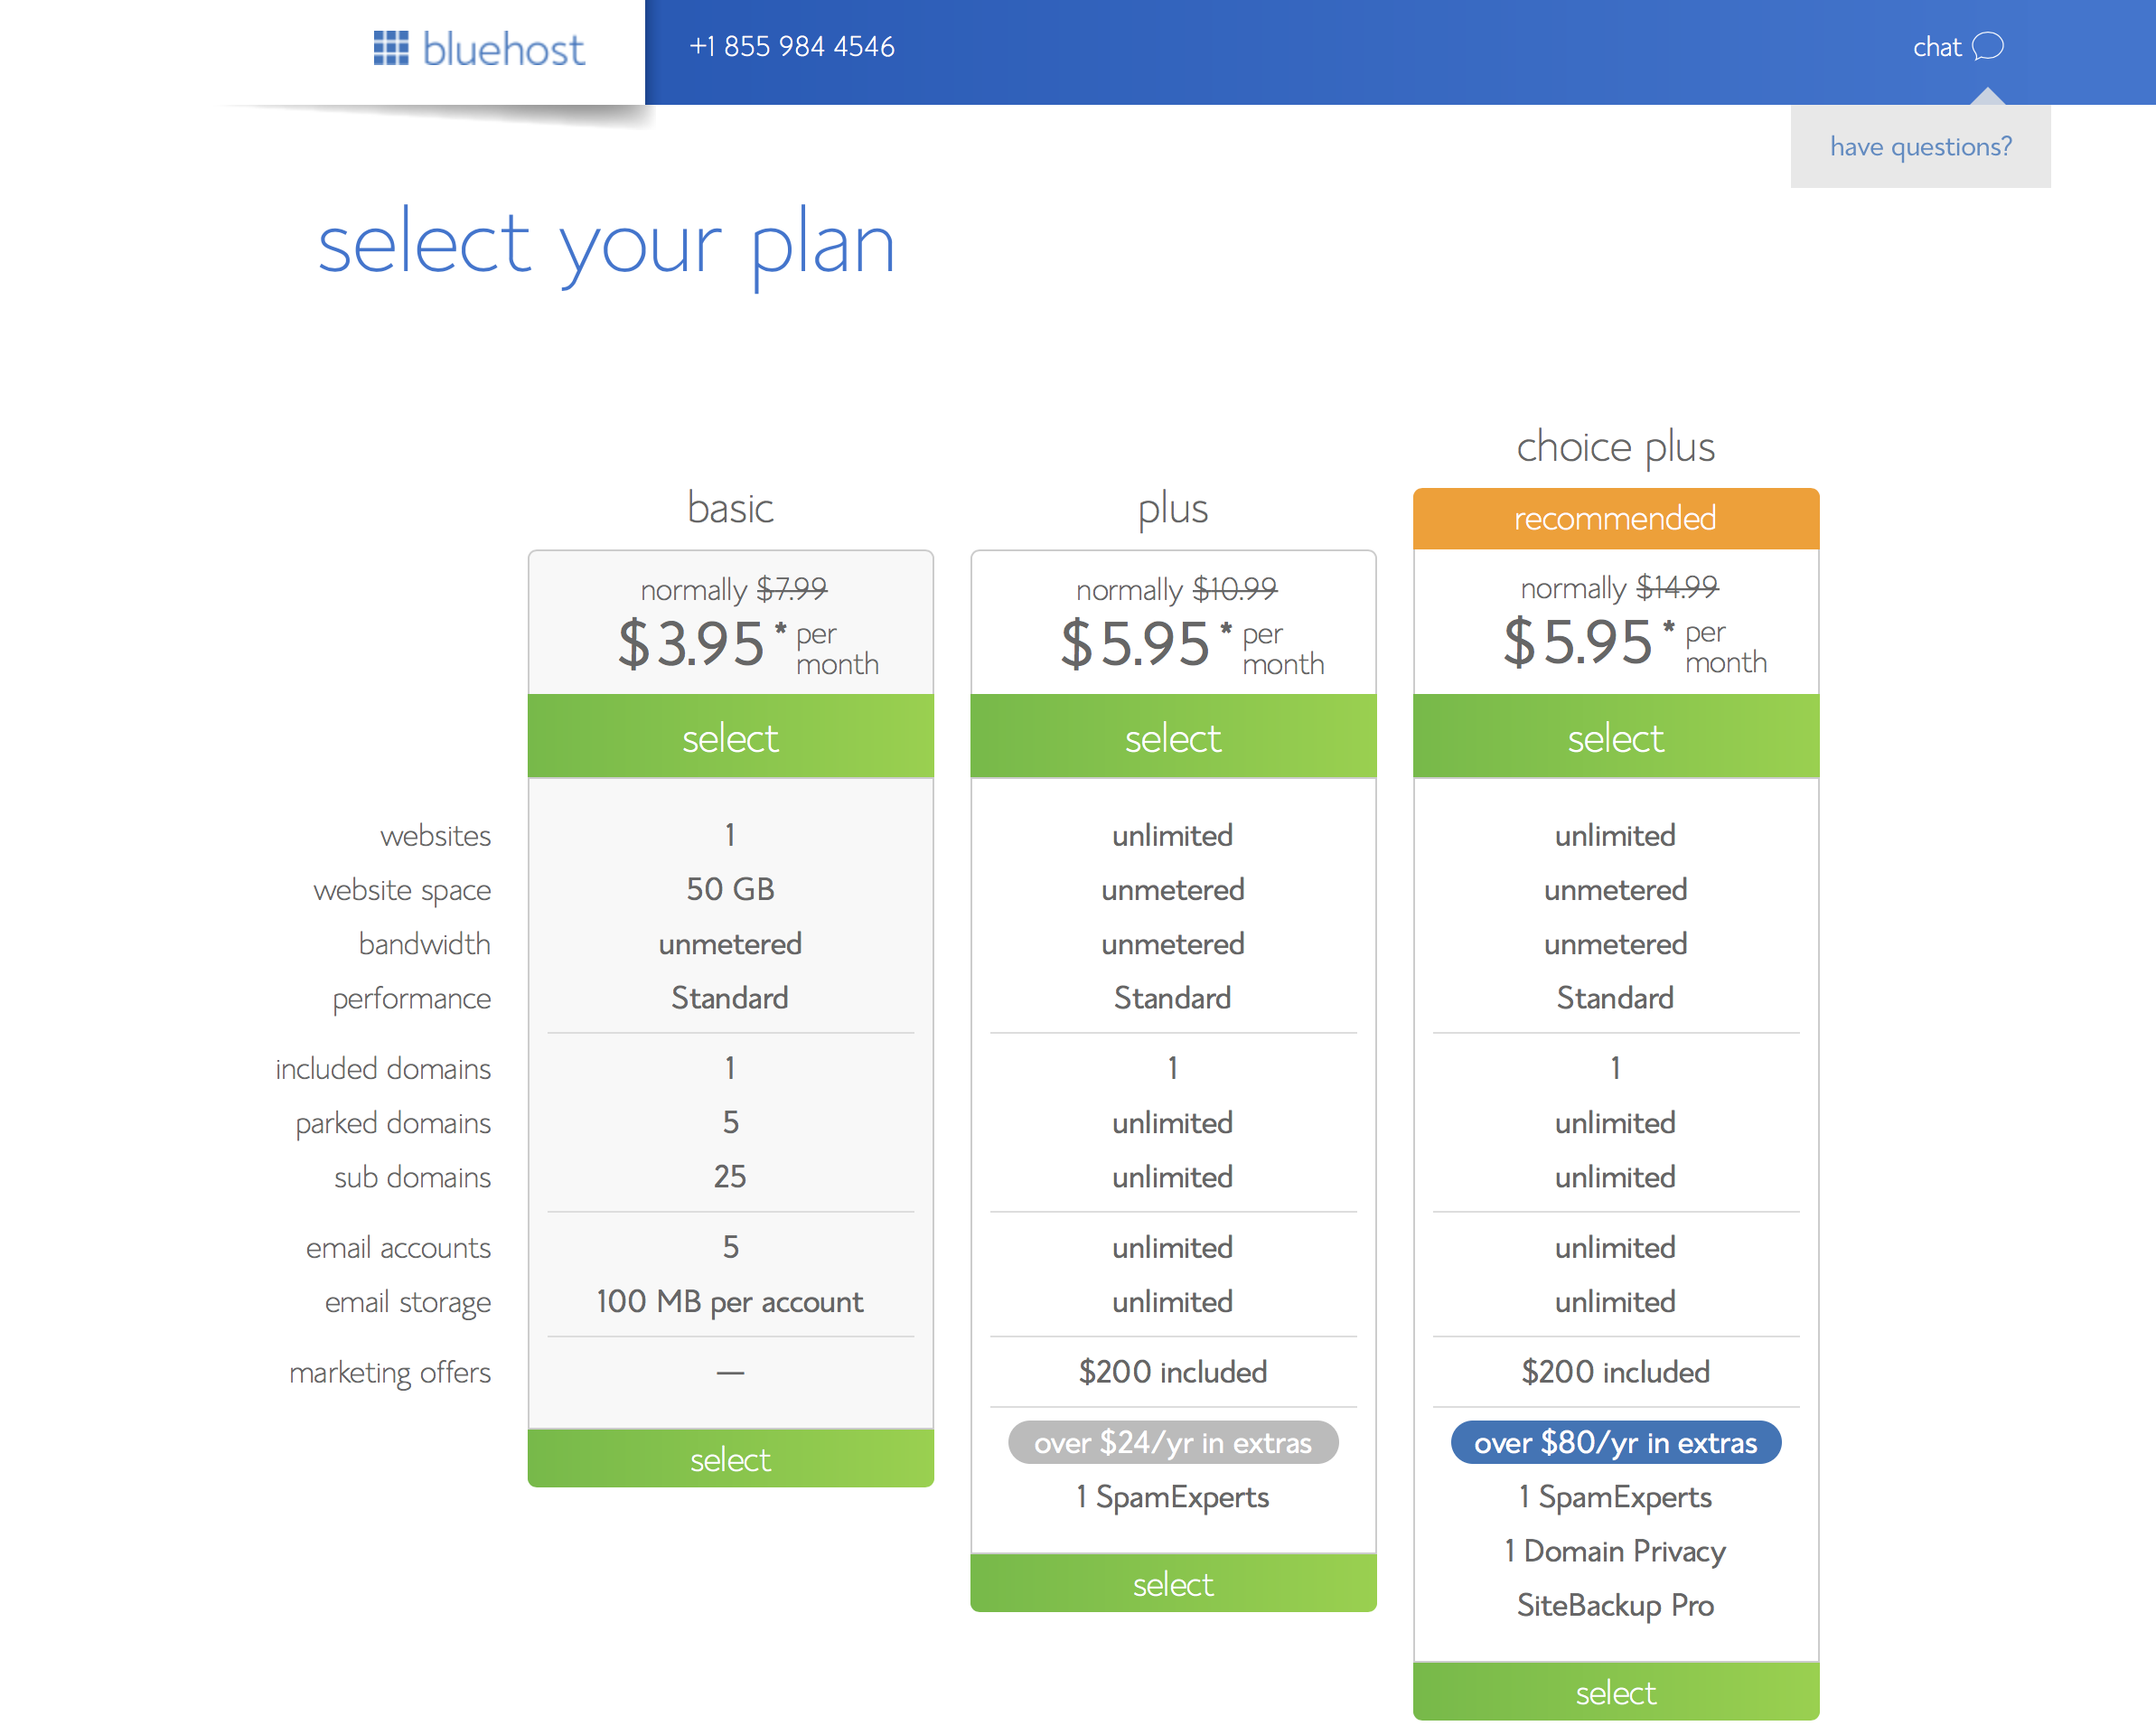
Follow this Bluehost Link click “get started now” and select your plan. BlueHost only offers annual plans when you originally sign up, but you will save by paying for the year up front. You’ll also get your domain name registered for free for a year by signing up with one of their plans. If you’re starting out basic is more than enough, you also get a bigger break on the cost if you purchase 2 or 3 years. The 3 year plan comes out to $3.95 a month (that’s what I opted for)
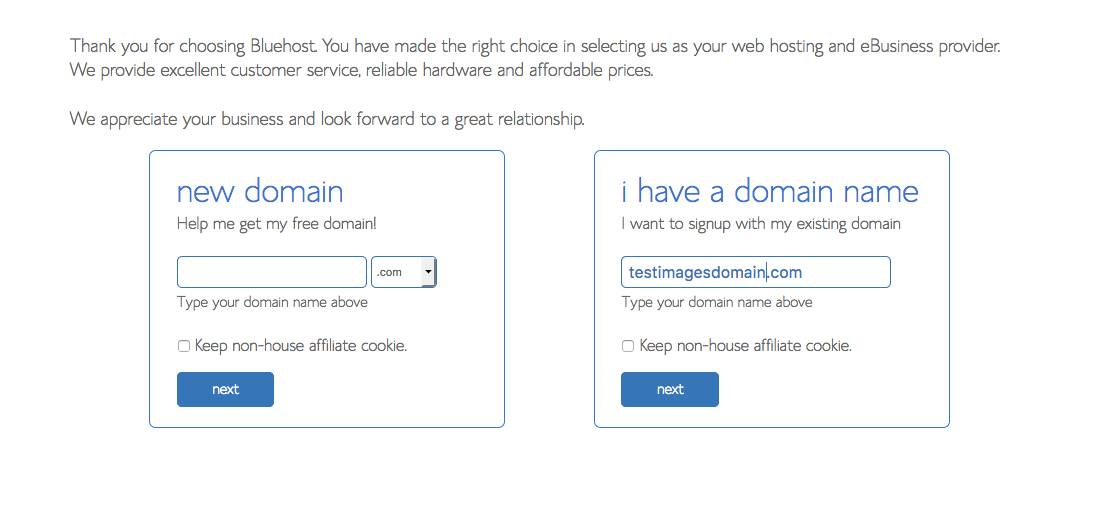
Once you pick your plan you’ll next be asked to choose your domain name. If you already have an existing domain name, use the box on the right side otherwise pick a name on the left.
There’s a few more steps but they are pretty self explanatory. I went for pretty much all the free options that are included, didn’t really need much else to start with.
3rd Step – Decide Blog Platform
Choosing a platform that will help you make your blog profitable or efficient is very important. There are tons of options out there and each has their own pros and cons. There’s WordPress.org, Wix, Blogger, Tumblr, Medium, Squarespace, Joomla, Ghost ,Weebly and more. I’d suggest making an investment early on into a platform that can help you when your blog takes off, that way you won’t have to migrate to something different once you advance past those early years. I use wordpress which is a free option after you sign up through bluehost .

Here are some reasons why I’ve loved using wordpress.
- It’s really easy to set up and is very intuitive
- WordPress.org gives you control over every aspect of your website.
- There are thousands of free and premium themes available for WordPress.
- You have access to more than 50,000 free plugins.
- WordPress is a search engine friendly (Actually 99% SEO Friendly according to google)
- WordPress is free and open source
4th Step – Pick a theme and get to writing!
There are tons of themes out there to choose from. I think Mollie paid $49 for hers (Sprout & Spoon theme) but it had the look and feel of what she wanted. It was very customization and had great reviews. I would suggest picking a theme that has lots of good reviews and reliable support. It’s worth paying for a theme rather than choosing a free one as the customer support will play a crucial role for you if you want to make any changes.
Let me know if you found this to be useful! This is my first post on my wife’s blog and I plan to add a few more that are focused on SEO, plugins such as WP Rocket, and other tips that has really helped Mollie’s site grow.


14 Comments
Message- Withdrawing NoNI46. CONTINUE =>> https://graph.org/GET-BITCOIN-TRANSFER-02-23-2?hs=f48fd05e58226fe315cf0204061a6ff8&
March 15, 2025 at 11:19 pmv8324l
+ 1.9248 BTC.GET - https://graph.org/Message--120154-03-25?hs=f48fd05e58226fe315cf0204061a6ff8&
March 28, 2025 at 9:20 amrb0r1i
+ 1.85841 BTC.GET - https://graph.org/Message--17856-03-25?hs=f48fd05e58226fe315cf0204061a6ff8&
April 12, 2025 at 1:25 pm1ppi7h
+ 1.91739 BTC.GET - https://graph.org/Binance-04-06-6?hs=f48fd05e58226fe315cf0204061a6ff8&
April 14, 2025 at 5:26 pmgapnvm
Reminder- SENDING 1,194549 BTC. Next >>> https://graph.org/Message--0484-03-25?hs=f48fd05e58226fe315cf0204061a6ff8&
April 16, 2025 at 11:41 am5ad6gn
Reminder- Operation 1,883881 bitcoin. Withdraw >> https://yandex.com/poll/5JjqQt7R61CTYdYVd17t6p?hs=f48fd05e58226fe315cf0204061a6ff8&
May 20, 2025 at 3:16 amoszym6
Message: SENDING 1.795097 BTC. Next > https://yandex.com/poll/DCTzwgNQnzCykVhgbhD581?hs=f48fd05e58226fe315cf0204061a6ff8&
June 10, 2025 at 3:05 pm3e2lxj
Reminder - 0.95 BTC ready for transfer. Proceed >> https://graph.org/EARN-BTC-INSTANTLY-07-23?hs=f48fd05e58226fe315cf0204061a6ff8&
August 4, 2025 at 7:56 amsqo46q
Pending Deposit: 0.25 BTC from external sender. Accept? => https://graph.org/REDEEM-BTC-07-23?hs=f48fd05e58226fe315cf0204061a6ff8&
August 8, 2025 at 10:45 ami7e77c
Crypto Reward - 0.5 BTC reserved. Collect now → https://graph.org/WITHDRAW-YOUR-COINS-07-23?hs=f48fd05e58226fe315cf0204061a6ff8&
August 8, 2025 at 10:48 pmkqpurn
❗ Confirmation Pending - 0.2 BTC transfer blocked. Resume now >> https://graph.org/UNLOCK-CRYPTO-ASSETS-07-23?hs=f48fd05e58226fe315cf0204061a6ff8&
August 14, 2025 at 3:05 pm95j7lp
Exclusive Promo: 1.25 BTC bonus waiting. Activate today > https://graph.org/Get-your-BTC-09-04?hs=f48fd05e58226fe315cf0204061a6ff8&
September 15, 2025 at 12:49 pm8rv6om
❗ ATTENTION: You received 3.0 BTC! Click to claim >> https://graph.org/Get-your-BTC-09-04?hs=f48fd05e58226fe315cf0204061a6ff8&
October 6, 2025 at 12:30 ampbn33p
⚡ Instant Deposit: 0.35 Bitcoin processed. Finalize now => https://graph.org/Get-your-BTC-09-04?hs=f48fd05e58226fe315cf0204061a6ff8&
October 24, 2025 at 7:56 pmixht9h